DTF Film and Powder: Cold Peel, Mesh Size and Curing
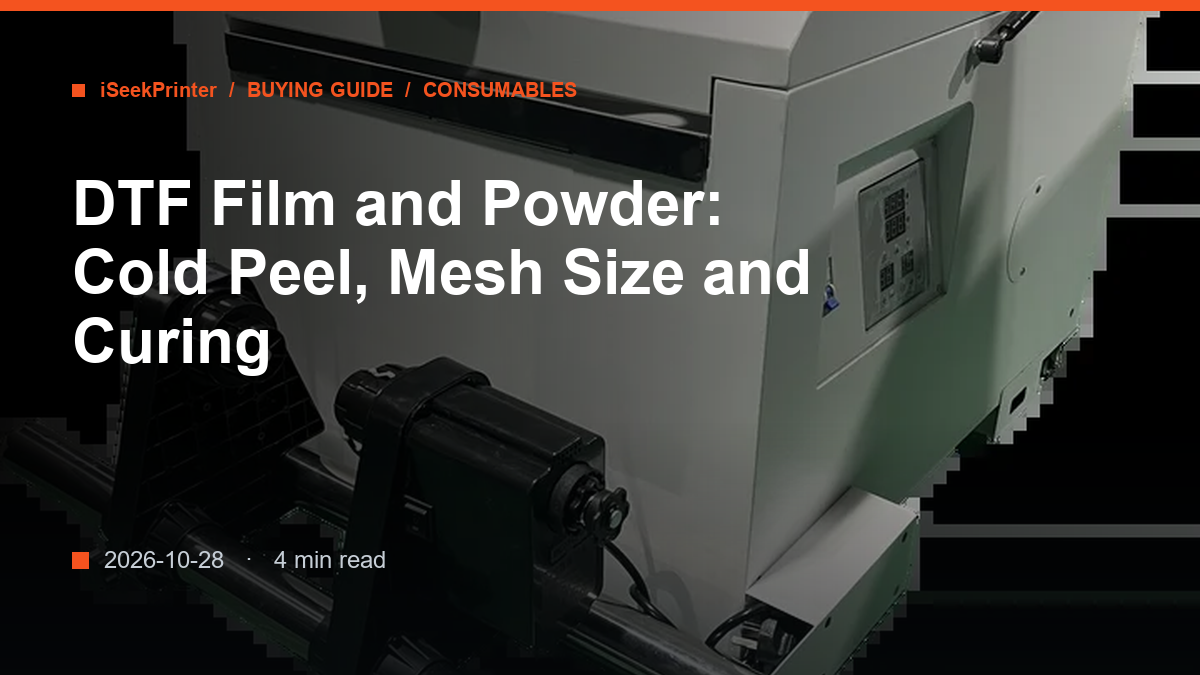
DTF film and powder decide most transfer problems before the printer is involved. The printer lays down ink. The film determines how that ink releases, the powder determines how it bonds, and the cure determines whether either survives a wash. Two shops with identical machines can produce very different transfers from these three variables alone.
What the Film Actually Does
DTF film is a PET carrier with a release coating on one side. Ink sits on the coated side, powder fuses into the wet ink, and the printed layer transfers to fabric under heat and pressure. The film is not part of the finished print: it is removed after pressing, which is why peel behaviour matters as much as image quality.
Film comes in rolls matched to printer width, 300 mm for A3 and 600 mm for A1. Thickness is quoted in micrometres, with 75 µm and 100 µm the two common specifications. Both work, and the difference shows on the garment rather than in the print file.
Cold Peel or Hot Peel: Pick One and Stay With It
Hot peel means the film comes off while the transfer is still warm, seconds after the press opens. Cold peel means it is left to cool, usually to near room temperature, before peeling. Neither is better in the abstract. Each needs a film and a press routine built around it.
- Hot peel suits throughput: shorter cycles, less bench space, faster turnaround on small orders.
- Cold peel usually gives a smoother, more matte surface and better edge definition on fine detail.
- Mixing the two, such as hot-peel film peeled cold, causes patchy transfer and incomplete release.
- Keep the peel angle consistent; a slow, flat peel across the design is more reliable than lifting one corner.
Ask the film supplier which peel the roll is made for, and write it on the box. Shops that change brand without checking peel type usually blame the powder for what is really release behaviour.
PET Film Thickness: 75 µm or 100 µm
Thinner film, around 75 µm, follows the platen closely and releases with less resistance, which suits fine detail and small lettering. It is also more prone to wrinkling if printer tension is wrong or the roll was stored badly.
Thicker film, around 100 µm, is stiffer and more forgiving on large solid areas, where thin film can stretch during handling. The printed layer can feel marginally heavier on lightweight shirts.
For most shops the choice follows the job mix: thin film for detail, thicker film for large blocks of white. Running one thickness for everything is simpler and perfectly workable.
Powder Mesh Size and How Much to Apply
Hot-melt powder is graded by mesh size, typically 80 to 100 µm as a starting point for garment transfers. Coarser powder melts more slowly and sits higher, giving a thicker hand. Finer powder melts into the ink and holds detail better.
Coverage matters more than grade. Powder should sit on the wet ink and nowhere else: too little and the transfer fails at the edges after washing, too much and the print feels boardy and cures unevenly.
- Shake off the excess before curing rather than brushing it back into the tray.
- Keep the shaker tray and powder return path clean; clumped powder applies unevenly.
- Store powder sealed and dry. Humidity makes lumps that will not pass the mesh.
Curing: Temperature, Time and the Feel of the Print
Curing melts the powder into a continuous film. A typical starting point is 160 to 170 °C for 60 to 90 seconds in a tunnel shaker or oven. Check the print while it is warm: the surface should look even and slightly satin, with no visible grains and no glossy patches.
Under-cured powder is the usual cause of a transfer that cracks after a few washes. Over-cured powder yellows, especially over white, and can make the film brittle enough to crack during peel. Both faults are diagnosed at the cure, not at the printer.
Confirm temperature and dwell with your own supplier, then keep them fixed and record them per job. A cure profile that changes with the operator is not a profile.
Rule of thumb: if the print is still tacky when it leaves the tunnel, it is under-cured, not nearly done. Add dwell time before you add temperature, because a hotter tunnel with a short dwell scorches the film edge.
Storing Film and Powder So They Stay Usable
Film absorbs moisture at the edges and curls, which causes feed faults and misregistration. Keep rolls sealed and upright, and hold the workroom between 18 and 28 °C at 40 to 65 % relative humidity. Powder belongs in a sealed container away from the curing unit.
If the unit goes cold overnight, let the machine and the film reach room temperature before the first job. Cold film feeds unevenly.
Comparing machines or planning a production line? Send us your output figures and we will recommend a configuration and quote it.
FAQ
Can I use hot-peel film on a cold-peel setting?
Not reliably. Peel behaviour is set by the film's release coating. Peeling hot-peel film cold, or cold-peel film hot, usually gives patchy release, stretched ink and edges that lift.
How much powder should be left on the film?
Enough to cover the wet ink evenly, with the excess shaken off before curing. Powder outside the printed area transfers nothing and only fouls the shaker. Visible grains after curing mean too much powder or too short a dwell.
Does film thickness change the press settings?
Slightly. Thicker film needs a little more dwell to bring the ink layer to temperature, and thinner film releases faster. Start from the settings that suit your film and adjust in small steps.